Building and Deploying a React App with Socket.IO Using TypeScript, Yarn, Vite, and Nginx on Ubuntu Server
- Date
Contents
- Introduction
- Prerequisites:
- Tools
- Install tools (On server and locally)
- Install Node.js
- Install Yarn
- Update the package lists
- Install Git
- Install vite globally
- Installing nginx
- Step 1 - Creating a GitHub Repository
- Step 2 - Setting Up the React App
- Step 3 - Installing Socket.IO Client
- Step 4 - Setting Up the Socket.IO Client
- Step 5 - Using Socket.IO in a React Component
- Step 6 - Building the Socket.IO Server
- Step 7 - Deploying the Project
- Conclusion
Introduction
This tutorial is a step by step guide on how to create a basic ReactJS app in TypeScript that uses Socket.IO for real-time communication. We will start by building a simple web application that receives and sends messages to/from a Socket.IO server. We will set the server up and then deploy the app and the Socket.IO server on a Ubuntu server hosted in DigitalOcean.
Prerequisites:
- Basic understanding of TypeScript and React
- A Digital Ocean Ubuntu Server
- A GitHub account
Tools
- Vite A next-generation front-end build tool developed by the creator of Vue.js. It provides a faster and leaner development experience for modern web projects.
- yarn A fast, reliable, and secure JavaScript package manager.
- Nginx Nginx is a powerful web server software that can also be used as a reverse proxy, load balancer, and HTTP cache.
- ReactJS with Typescript React is a popular JavaScript library for building user interfaces, particularly single-page applications. TypeScript is a statically typed superset of JavaScript that compiles to plain JavaScript.
- Ubuntu Server 18.04.6 LTS A Linux distribution that is well-suited for hosting servers.
- Socket.IO A library that enables real-time, bidirectional and event-based communication between the browser and the server. It’s made up of two parts: a client-side library that runs in the browser, and a server-side library for Node.js
Node.js Node.js is an open-source, cross-platform, JavaScript runtime environment that executes JavaScript code outside a web browser.
Git * Git is a free and open source distributed version control system designed to handle everything from small to very large projects with speed and efficiency.
Install tools (On server and locally)
Before we start, let's ensure we have all the necessary tools installed both on our local machine and on our Digital Ocean Ubuntu server. These tools include Node.js, Yarn, Git, and Nginx.
Install Node.js
We will install Node.js using NVM (Node Version Manager)
Important: After installing NVM you will need to open a new terminal.
curl -o- https://raw.githubusercontent.com/nvm-sh/nvm/v0.39.0/install.sh | bash
Then let's install Node.js by using the following command:
nvm install v16.20.1
Let's verify Node.js has been installed
node --version
Install Yarn
After Node.js is installed, we will now install Yarn
npm install --global yarn
yarn --version
The next steps will require root access. If you're logged in as a non-root user, you can use the sudo command to get root access.
Update the package lists
sudo apt-get update
Install Git
sudo apt-get install git
git --version
Install vite globally
yarn global add create-vite
Installing nginx
Lastly, install Nginx
sudo apt-get install nginx -y
nginx -v
Step 1 - Creating a GitHub Repository
First, create a new empty repository on GitHub. For this example, let's call it "my-socketio-app". After creating the repository, clone it to your local machine:
git clone https://github.com/<your_username>/my-socketio-app.git
Step 2 - Setting Up the React App
Navigate to the cloned repository folder, then create a new Vite project with react-ts template
cd my-socketio-app
npx create-vite . --template react-ts
After creating the project, stage and commit the changes:
git add .
git commit -m "Initialize React app with Vite"
git push
Step 3 - Installing Socket.IO Client
Inside the project directory, install the Socket.IO client:
yarn add socket.io-client
Then, commit the changes:
git add .
git commit -m "Install socket.io client"
git push
Step 4 - Setting Up the Socket.IO Client
Create a new socket.ts file inside the src folder and add the following code (Replace IP address with your server's address):
1
2
3
4
5
6
import { io } from "socket.io-client";

const socket = io("http://<your_server_ip>:3000");

export default socket;
Step 5 - Using Socket.IO in a React Component
Next, we'll create a React component that listens for a 'welcome' event from the server and sends a message to the server:
Create a new MyClientComponent.tsx file inside the src folder and add the following code:
1
2
3
4
5
6
7
8
9
10
11
12
13
14
15
16
17
18
19
20
21
22
23
24
25
26
27
28
29
30
31
import React from 'react';
import socket from './socket';

const MyClientComponent: React.FC = () => {
  const sendMsg = () => {
    socket.emit('message', 'Hello from client!');
  };

  React.useEffect(() => {
    socket.on('welcome', (msg: string) => {
      console.log(msg);
    });
    socket.on('message', (msg: string) => {
      console.log(msg);
    });

    return () => {
      socket.off('message');
      socket.off('welcome');
    };
  }, []);

  return (
    <div>
      <h1>MyClientComponent</h1>
      <button onClick={sendMsg}>Send Message</button>
    </div>
  );
};

export default MyClientComponent;
The next thing is to modify src/main.tsx to include the MyClientComponent instead of the App component, the file should look like the following:
1
2
3
4
5
6
7
8
9
10
import React from 'react'
import ReactDOM from 'react-dom/client'
import MyClientComponent from './MyClientComponent.tsx'
import './index.css'

ReactDOM.createRoot(document.getElementById('root') as HTMLElement).render(
  <React.StrictMode>
    <MyClientComponent />
  </React.StrictMode>,
)
Step 6 - Building the Socket.IO Server
First, create a new directory server in your my-socketio-app directory and initialize a new yarn project inside it:
mkdir server
cd server
yarn init -y
After that, install the necessary packages:
yarn add express socket.io cors
yarn add -D typescript ts-node @types/node @types/express
Create a tsconfig.json file in the server directory with the following content:
1
2
3
4
5
6
7
8
9
10
11
12
13
14
15
16
{
  "compilerOptions": {
    "module": "commonjs",
    "esModuleInterop": true,
    "target": "es6",
    "noImplicitAny": true,
    "moduleResolution": "node",
    "sourceMap": true,
    "outDir": "dist",
    "baseUrl": ".",
    "paths": {
      "*": ["node_modules/*"]
    }
  },
  "include": ["src"]
}
After that, create a new src directory in the server directory, and create a new file server.ts inside the src directory with the following content:
1
2
3
4
5
6
7
8
9
10
11
12
13
14
15
16
17
18
19
20
21
22
23
24
25
26
27
28
import express from 'express';
import { createServer } from 'http';
import { Server, Socket } from 'socket.io';

const app = express();
const httpServer = createServer(app);

const io = new Server(httpServer);

io.on('connection', (socket: Socket) => {
  console.log('a user connected');

  socket.emit('welcome', 'Welcome! You are connected.');

  socket.on('disconnect', () => {
    console.log('user disconnected');
  });

  socket.on('message', (msg: string) => {
    console.log('message: ' + msg);
    socket.emit('message', 'Message received!');

  });
});

httpServer.listen(3000, () => {
  console.log('listening on *:3000');
});
Finally, add the following scripts to your package.json file:
1
2
3
4
5
"scripts": {
  "start": "node dist/server.js",
  "build": "tsc",
  "dev": "ts-node src/server.ts"
},
After setting up the server go back to the root directory of the project. And then stage and commit the changes:
git add .
git commit -m "Setup Socket.IO server"
git push
Step 7 - Deploying the Project
SSH into your Ubuntu server and install all the tools as you did it with your local environment. After you are done installing everything navigate to the /var/www directory, then clone your GitHub repository:
cd /var/www
git clone https://github.com/<your_username>/my-socketio-app.git
Navigate to the my-socketio-app directory and install the necessary packages:
cd my-socketio-app
yarn install
Before you can run the application, we need to compile the TypeScript code into JavaScript:
yarn build
Next, configure Nginx to serve our React app:
sudo nano /etc/nginx/sites-available/default
Update the file to look like this:
sudo nano /etc/nginx/sites-available/defaultserver {
  listen 80 default_server;
  listen [::]:80 default_server;

  root /var/www/my-socketio-app/dist;

  server_name _;

  location / {
    try_files $uri $uri/ =404;
  }
}
After modifying the root entry in the file, run the following command to make the changes take effect:
sudo service nginx reload
Now you should be able to see your React app if you visit your server's address.
After setting up and running our frontend React app, we need to build our server and also run it, let's start by installing all the necessary packages:
cd server
yarn install
Now we can build the server:
yarn build
We got our server ready, for a production environment, I recommend using PM2 to manage the server process, so let's install it:
yarn global add pm2
pm2 start dist/server.js --name my-socketio-app-server
pm2 startup
pm2 save
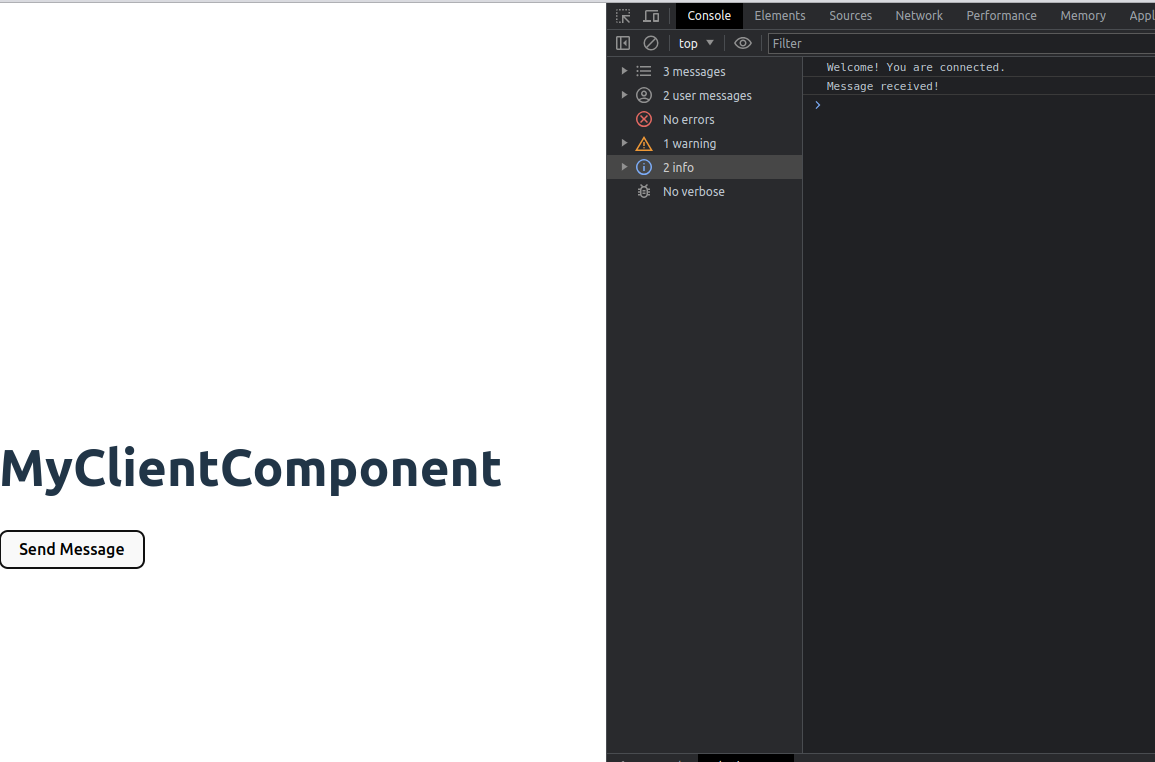
We should see our Socket.io server now running, to make sure of that, run the following command:
pm2 status
If we navigate to our IP address and then to the Network tab in the browser, we should see a CORS Error.
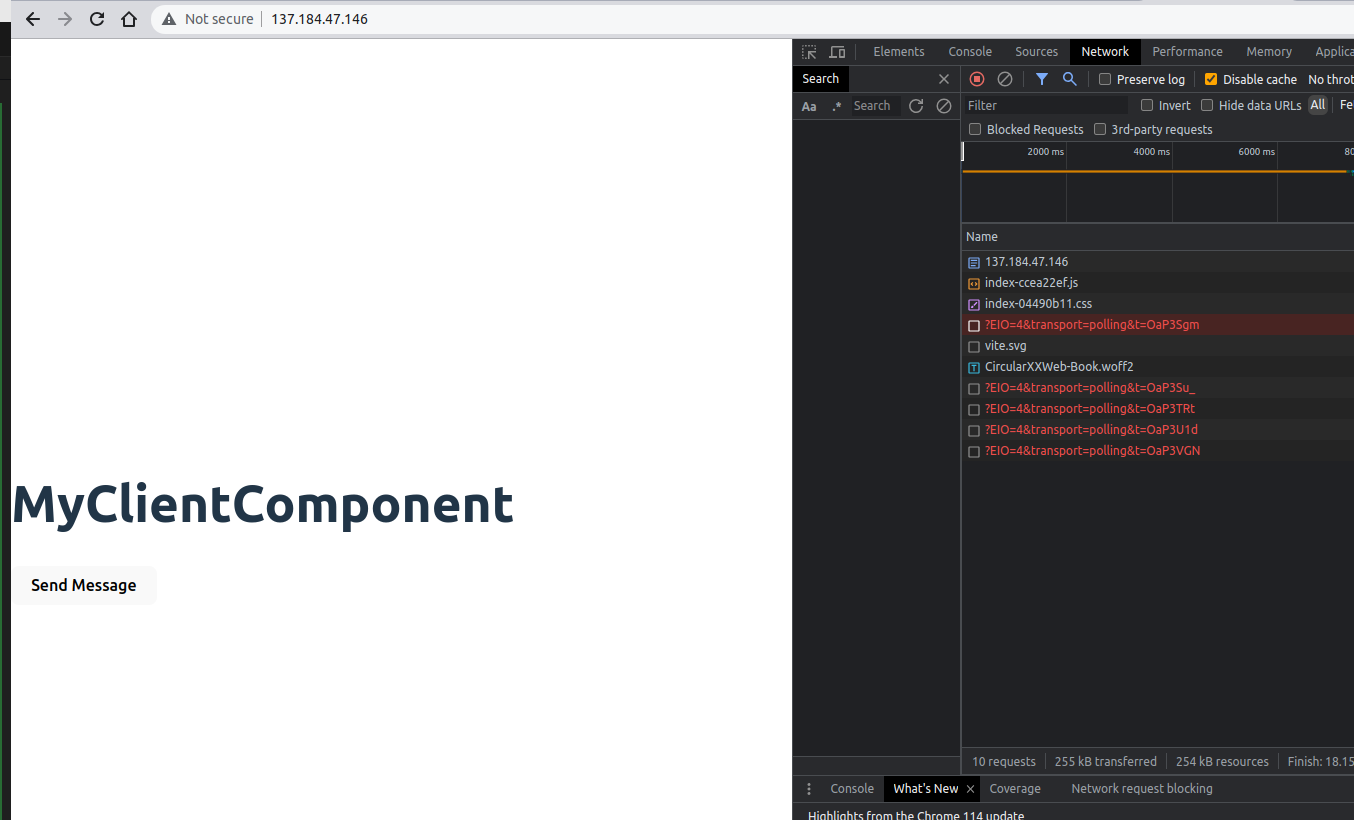
CORS errors are thrown when a web application tries to access a resource from a domain (origin) different from its own. The browser has this security feature which blocks these requests unless the server includes the appropriate headers to allow the request.
To fix this error let's edit our server/src/server.ts file and add a cors directive to look like the following (Important: Avoid any slashes at the end of the IP address):
1
2
3
4
5
6
7
8
9
10
11
12
13
14
15
16
17
18
19
20
21
22
23
24
25
26
27
28
29
30
31
32
33
import express from 'express';
import { createServer } from 'http';
import { Server, Socket } from 'socket.io';

const app = express();
const httpServer = createServer(app);

const io = new Server(httpServer, {
  cors: {
    origin: "http://<your_server_ip>",
    methods: ["GET", "POST"]
  }
});

io.on('connection', (socket: Socket) => {
  console.log('a user connected');

  socket.emit('welcome', 'Welcome! You are connected.');

  socket.on('disconnect', () => {
    console.log('user disconnected');
  });

  socket.on('message', (msg: string) => {
    console.log('message: ' + msg);
    socket.emit('message', 'Message received!');

  });
});

httpServer.listen(3000, () => {
  console.log('listening on *:3000');
});
After saving changes run the build command again and restart the pm2 service:
yarn build
pm2 restart my-socketio-app-server
You can now access your React app in a web browser by visiting your server's IP address.
Conclusion
In this tutorial, we've seen how tocreate a basic React app using TypeScript and Socket.IO, and then deploying it on a Ubuntu server in Digital Ocean using yarn, vite, and Nginx. This set-up can be used as a starting point for more complex applications. Happy coding!